Group Management is the tool Hex Technology offers to allow managers and group leaders to coordinate the training of their entire team. Our Group Management platform allows Group Leader to:
- Add and remove crew members
- Monitor the progress of craft assemblers through the course material, noticing who’s doing the work and earning their certifications (and who needs a friendly reminder)
- See exactly how people are scoring on tests to identify any areas of additional focus
When you are a Group Leader, you have a link to the Group Management Dashboard in the menus at the top of the page.
This guide aims to provide you with everything you need to
- Navigate through the Group Management controls
- Start adding your crew members to your group
- Solve password problems
But first…here’s a brief video walkthrough
Before we dive into all the material for getting up and running, we wanted to quickly show you what’s where within the platform. The video shows how to find what you’ll be looking for within the group management page and a few key options you’ll use.
Group Management Overview
When you log into the platform, you should be taken to a Dashboard specifically for group leaders. It will look like this;
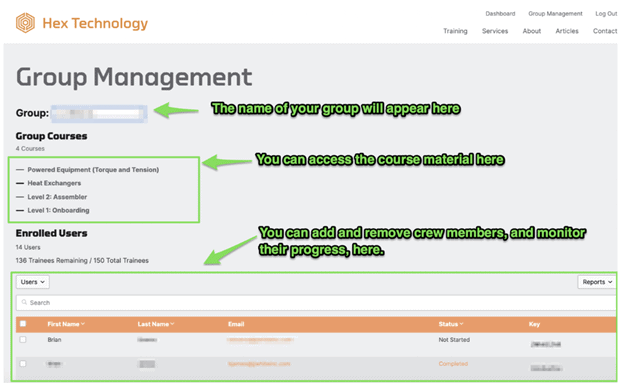
Alongside each person’s name and email, you’ll see an indicator of their status with regard to coursework. They will include the following:
- Not started – a person hasn’t yet enrolled in the courses
- In progress – a person has enrolled and is taking courses, but hasn’t finished them and passed the quizzes
- Completed – indicates the person has watched all materials. Check the “Quizzes” tab to see their performance on the test for the course
At the top of the page you’ll see the name of your group. If you manage multiple groups, it will be a dropdown that will let you choose the group you want to manage.
How to Access Course Materials
Below your group name, you’ll see “Group Courses.” Click any of those to dive into the course work yourself. You’ll want to start with Level 1, then on to Level 2, then Powered Equipment, then Heat Exchangers (if all applicable).
You can also navigate to the courses by clicking “Dashboard” in the top navigation. You’ll arrive at your personal Dashboard. It will look like this:
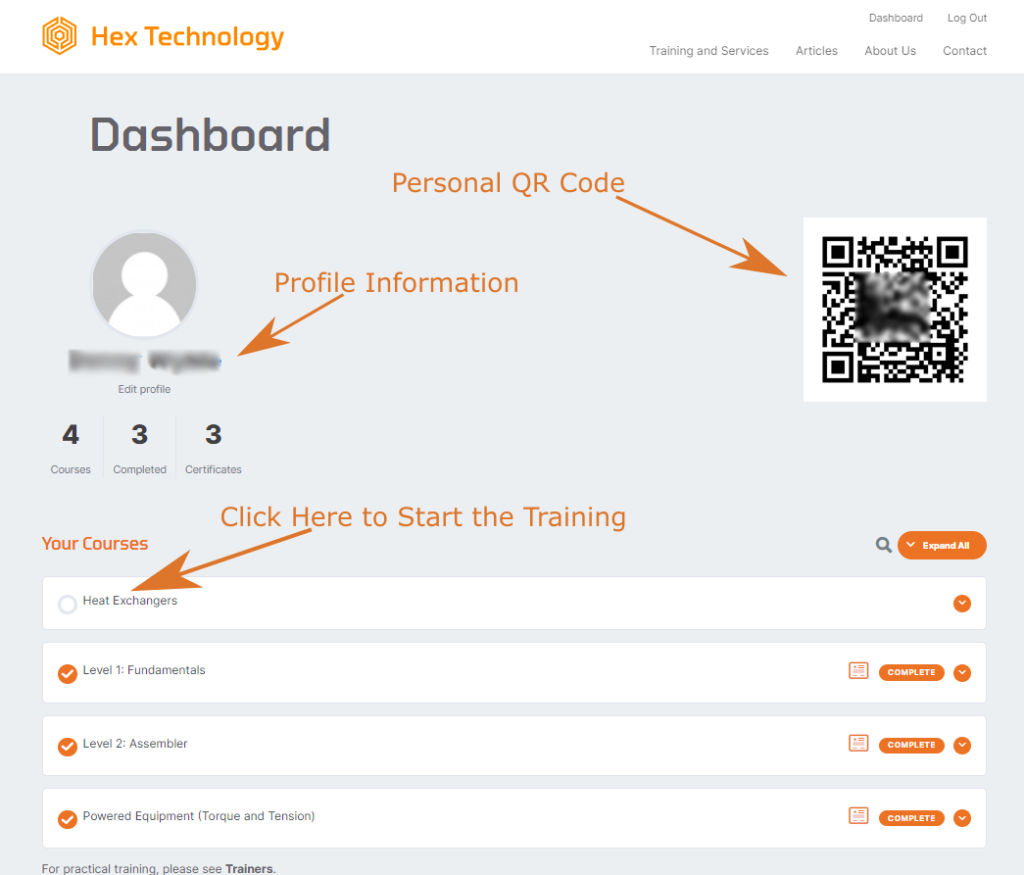
You can access all your courses from the Dashboard. To go to a course, click the course name.
How to Add Employees
Under courses, you’ll see an “Enrolled Users” section. this is where you’ll add your employees.
The only information you need from a person in order to enroll them in your group is their:
- First name
- Last name
- Email address
You can add each person individually in the webpage, or you can enter the data into a spreadsheet and upload it. You can download this spreadsheet for collecting their names and emails.
You can open the .csv file in Excel, Google Sheets, or any other spreadsheet editor. You’ll see the spreadsheet consists of four fields:

You need to enter email, first name and last name for each person. The field you may not recognize is “user_pass.” PLEASE LEAVE THIS FIELD BLANK. The system will automatically generate passwords for each person. This is important, as passwords need to be of sufficient strength in order for the person to log on.
When you are ready to upload the spreadsheet, click “Users” -> “Upload Users”
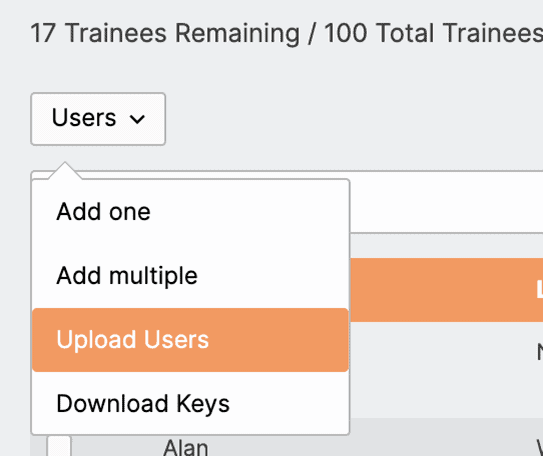
When make that selection, you will see the following controls to choose the file to upload:
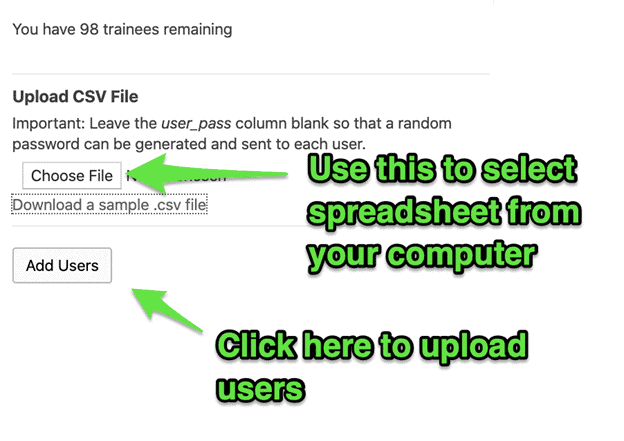
Choose to upload the CSV file with the names and emails you’ve added in and click “Add Users.”
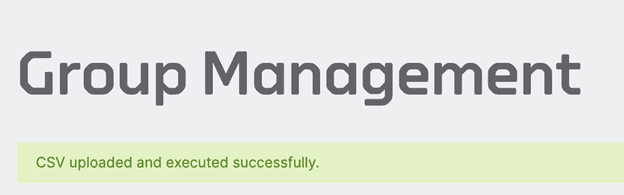
Wait for the upload to complete. This may take a minute or so. Once completed, you’ll receive a message like this:
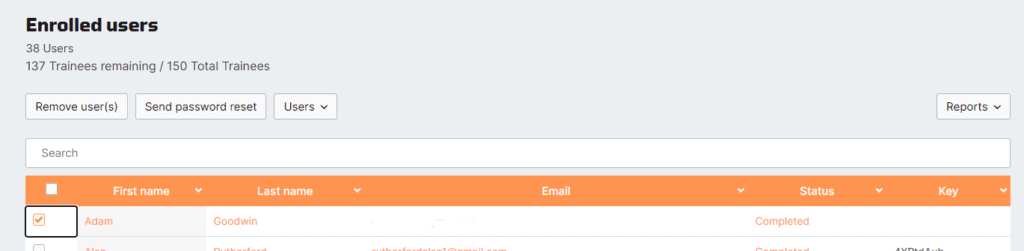
You can double-check that the new people have been added by searching their names within the search bar at the top of the list of enrolled users.
And that’s it!
Adding One-Off Users
In case you forget somebody, or need to add a new crew member, you can always go back and add individuals. To do this, simply click “Users -> Add One”

A new window will pop up asking for their name and email.
Password Problems? Here’s what to do…
Inevitably, someone at some point is either going to say they lost their password — or that they never received one at all.
It is possible that their password did arrive but was snagged by a Spam filter in their email inbox. But if a check there still produces no results, helping them out is really easy.
Go to your group management dashboard, find the user, and click the checkbox next to their name. When you do that, you’ll see the magic “send password reset” button:
Click the “Send password reset” button, and have the user check their email and follow the instructions. It’s just that easy!